Registration List and Details
Roles that can access this feature:
Coach
Coach and Mentor
Regional Specialist
Regional Facilitator
Program Leader
Registrations Dashboard
The Registrations Dashboard can be accessed through the Management page.
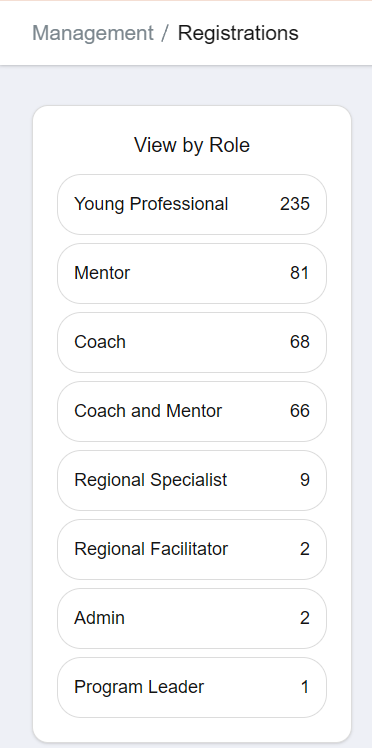
There is a list of roles you can chose from. This list also displays the count of registrations for each role. Selecting a role will take you to the Registration List of all corresponding registrations.
Note
The options shown on the list of roles is limited to the roles your account is allowed to access. The role count is also limited to the number of registrations you’re allowed to view.
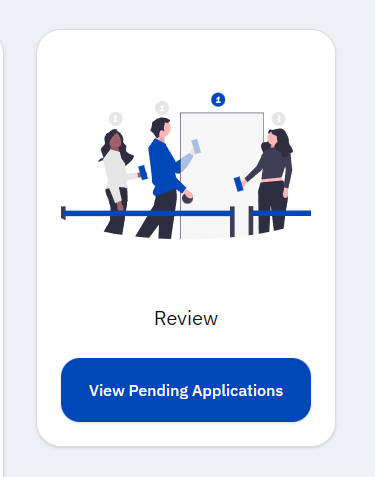
Additionally, Regional Specialists/Facilitators will see a link to the Registration Review page.
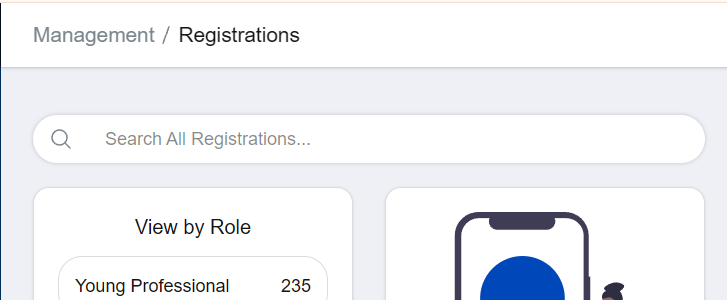
Early Access Feature: Global Registration Search
When enabled, the Global Registration Search allows you to search through all data from all visible roles. This searches through all registration data, not just the name of the participant. The search has some tolerance for misspellings.
This feature is still being improved, and the relevance of results may vary.
Registration List
After selecting a role from the dashboard, you will be taken to the list of registrations for that role.
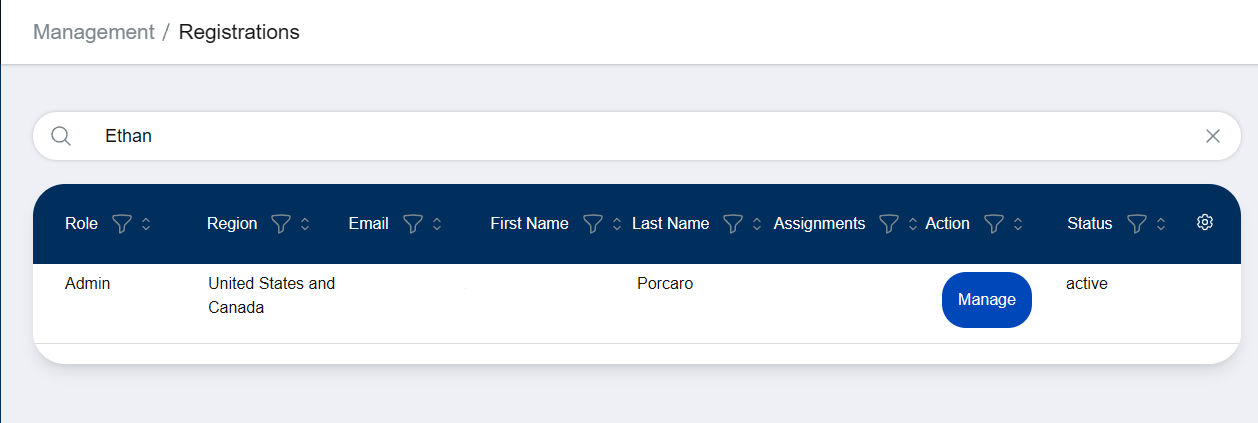
You can utilize the search bar to search for a registration. The search term must match exactly, and will only search through visible columns.
The columns to display can be changed. See Table Customization.
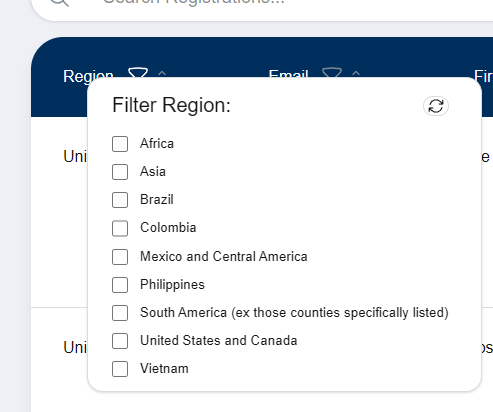
Each column can also be filtered or ordered.
Pressing the funnel icon will open a panel for selecting the values to filter by. There is a reset button in the top-right corner of the panel that disables all filters.
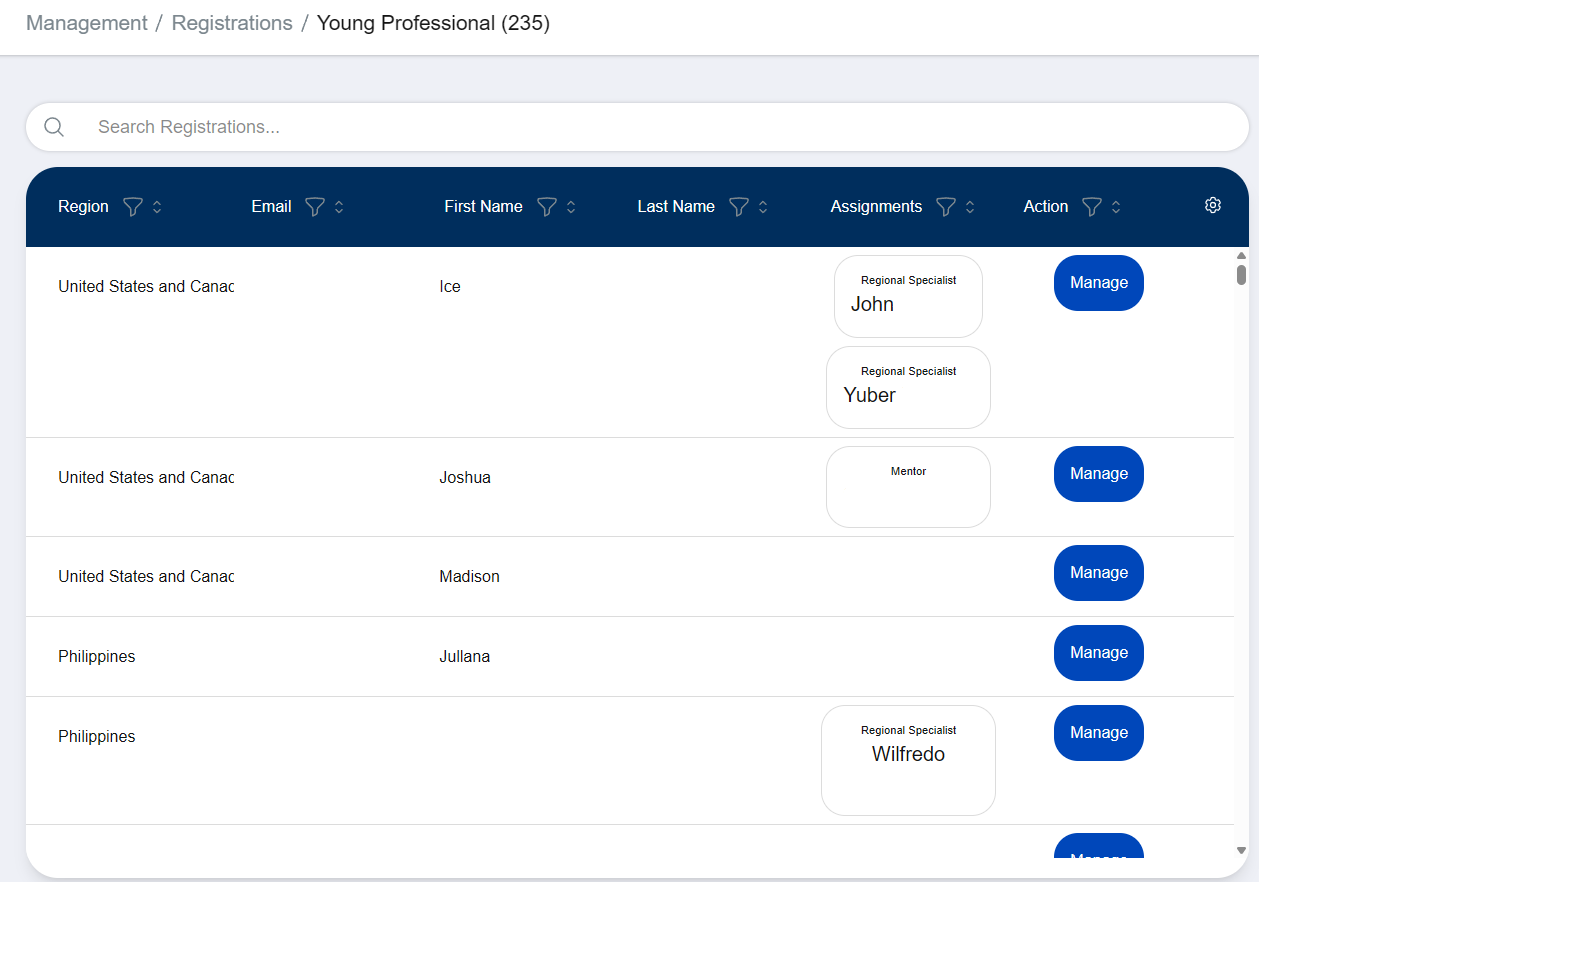
Here is an example of a list of Young Professionals. Note that most of the information has been redacted.
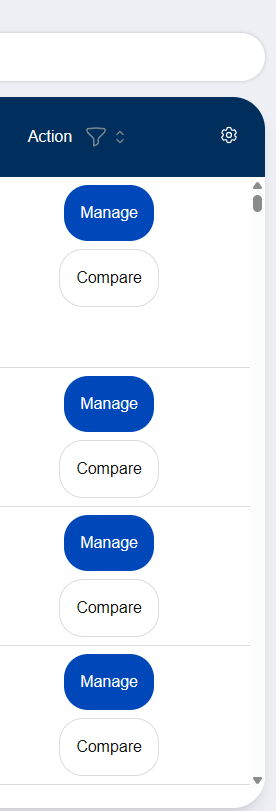
Early Access Feature: Persistent Registration Sidebar
If you have enabled the Persistent Registration Sidebar, you will also see the “Compare” button in the Action column. Pressing this button will pin that registration’s data onto the sidebar.
Registration Detail
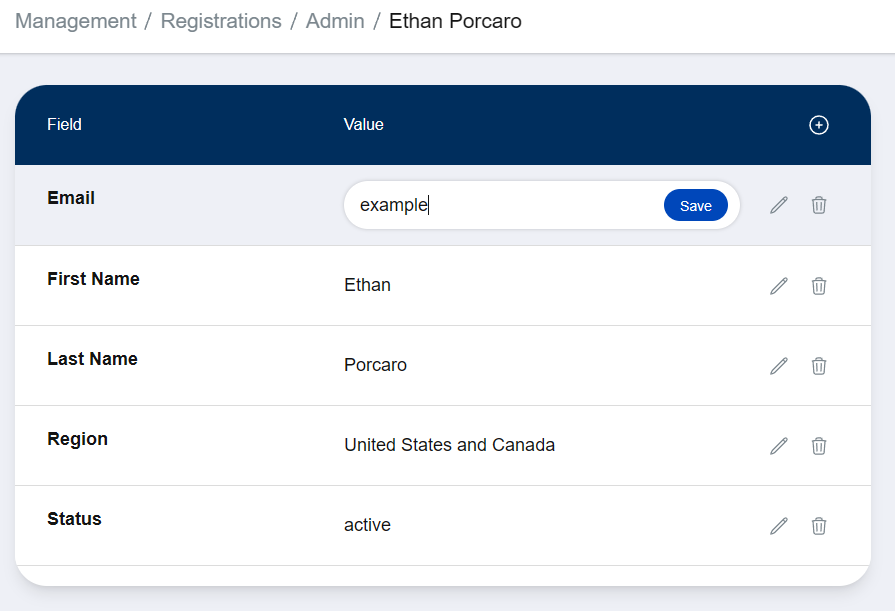
After pressing the “Manage” button in the Actions column, you will be taken to the registration’s detail page.
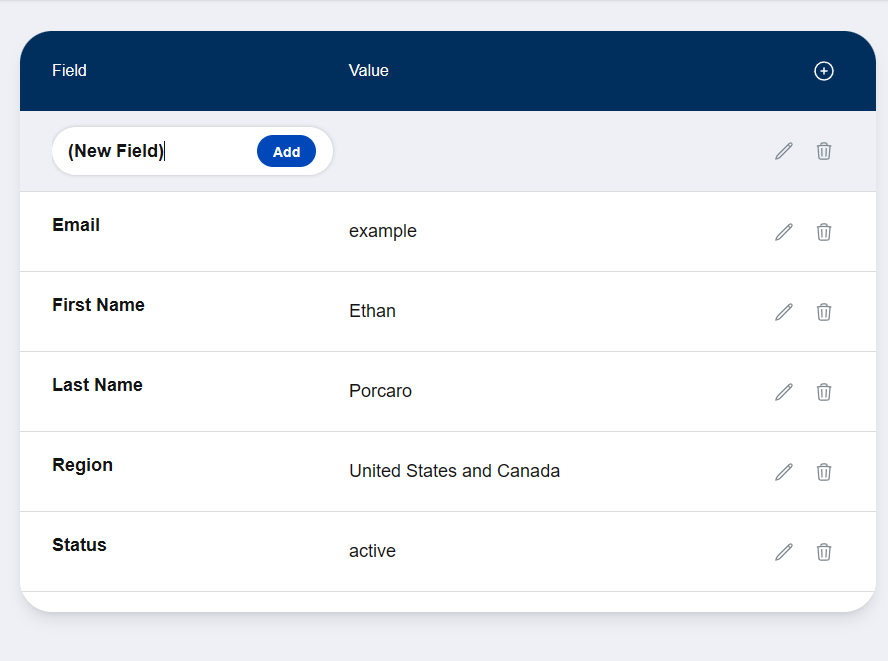
The registration information will be visible in a table.
You can press the pencil icon next to a field to modify it:
You can press the waste bin icon to delete a field. You will be prompted for confirmation before the field is deleted.
Danger
Be very careful when deleting a field. Once deleted, a field will no longer be visible in the Registration List.
If you accidentally delete a field and cannot recover it yourself, please contact an administrator immediately.
You can also add a field to the registration by pressing the plus icon on the table header. A new row will appear, and you can set the field name. Once the field name is set, it is not editable.
Warning
Adding a new field to a registration will create a new column in the registration list for everyone. This column is hidden by defauly, but the column selector list will get messy if you don’t keep naming consistent. See Table Customization.
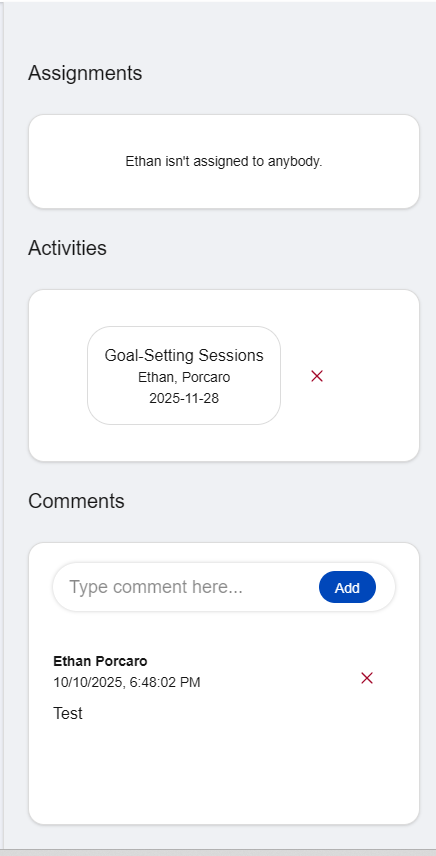
Sidebar
The registration detail pages also have a sidebar that shows additional information. This includes the registrant’s assignments, activities, and any comments left by other users. Some items on the sidebar may contain links to additional information.
Note
Some informating may be hidden from the sidebar if you are not authorized to view it.
Some actions, such as removing activities or comments, may display an access denied error depending on your role.
You can always delete your own comment, but only Regional Specialists/Facilitators and above can delete others’.
Quick Actions
When the registration is for a Young Professional, a “Quick Actions” panel will appear at the top of the registration detail sidebar.
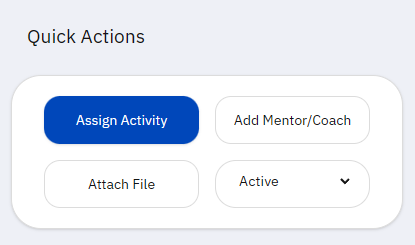
There are a few actions that can be performed:
Assign Activity
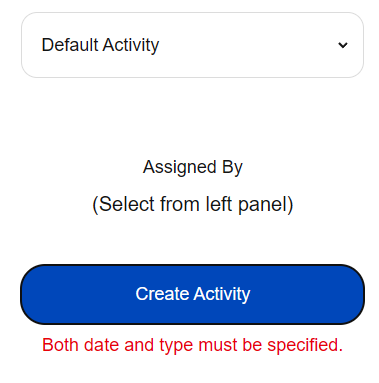
The “Assign Activity” button will open a modal with for entering the assignment’s details.
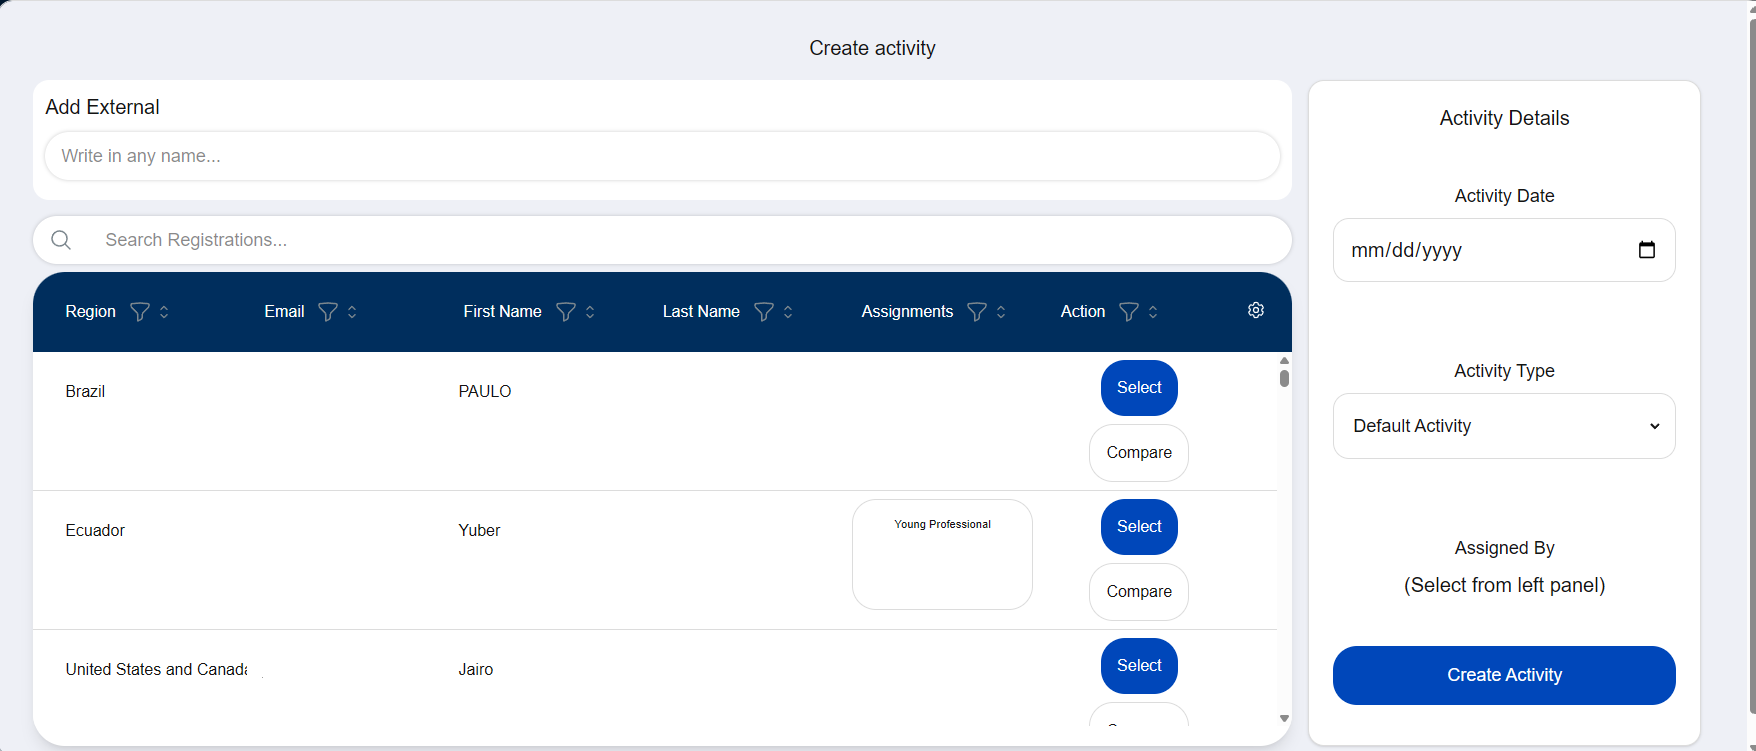
To start, select the activity’s leader. You can either:
Select a user from the list. This list is almost identical to the Registration List, but it shows all accessible roles at once.
Write in the full name of the activity leader. Only do this if the leader cannot be found in the list.
Next, you must select the activity date and type using the panel on the right.
Once all the information is correct, you can press “Create Activity”. The modal will close, and the activity will be visible on the Registration Sidebar after a moment.
If any of the information is missing, an error message will prompt you for the needed corrections:
Add Mentor/Coach
The “Add Mentor/Coach” button will open a modal with a Registration List. When select a user from the list, and they will be assigned to the Young Professional. The modal will close, and the activity will be visible on the Registration Sidebar after a moment.
Attach File
The “Attach File” button will open a modal with a file upload box. You can either drag a file onto the box, or click the button to find the file on your computer.

Attaching files can be helpful for a variety of reasons, including:
Referencing a document worked on together
Attaching resume revisions
Attaching videos
The maximum file upload size is 80MB. Do not upload anything that infringes copyright, is dangerous, or illegal.
Warning
This feature is still being worked on, and uploaded files cannot be viewed yet.
Change Status
You can use the dropdown to change the YP’s status. The The current options are:
Active: The YP is reachable and working in the program
Alumni: The YP has completed the program
Underway: The YP is onboarding the program
Passive: The YP us unreachable, stalled, or otherwise inactive in the program
Note
If you approve a registration on the Registration Review page, the status will default to “Underway”. You cannot change an approved registration back to “Pending” or “Rejected”. If you made a mistake, please contact a program leader or press the Report Issue button on the sidebar.